Smoke odour can be that unwelcome guest in your home, sticking around long after the source has disappeared. Whether from cooking mishaps, using the fireplace, or even cigarettes, figuring out what’s causing that stubborn scent is your first step to reclaiming your space.
This article gives you effective ways to remove smoke odour, covering everything from simple home remedies to professional cleaning options. Plus, you’ll find tips for preventing future odours and targeted advice for dealing with specific fabrics and upholstery.

Why Smoke Odour Is So Persistent
Understanding smoke odour is essential for tackling that stubborn smell that can stick around in your home, especially after smoke damage. This pesky odour seeps into all sorts of surfaces, like fabrics and upholstery, making it tough to get rid of without the right cleaning solutions.
Whether you’re dealing with a recent incident or still catching whiffs from the past, understanding what causes smoke odour is a crucial first step toward successfully eliminating it. Luckily, you have various options, from home remedies to professional cleaning services, so you can breathe easy and enjoy fresh air in your space again.
What Causes Smoke Odour?
Smoke odour can come from all sorts of places, like burning tobacco, cooking, or fire damage, and it leaves behind a stubborn residue that sneaks into fabrics and upholstery.
This unique smell sticks around and varies depending on where it came from, plus it interacts differently with different materials. For example, fire smoke can cling to porous fabrics like cotton, making it a real headache to get rid of the scent. On the flip side, synthetic fibres might repel some odour, but they can still hold onto the residual effects.
Delicate upholstery materials, like silk or velvet, absorb smoke odour more easily, which can change a room’s vibe. This complexity makes it clear that specialized cleaning methods are needed to tackle the corrosive effects of smoke damage effectively.
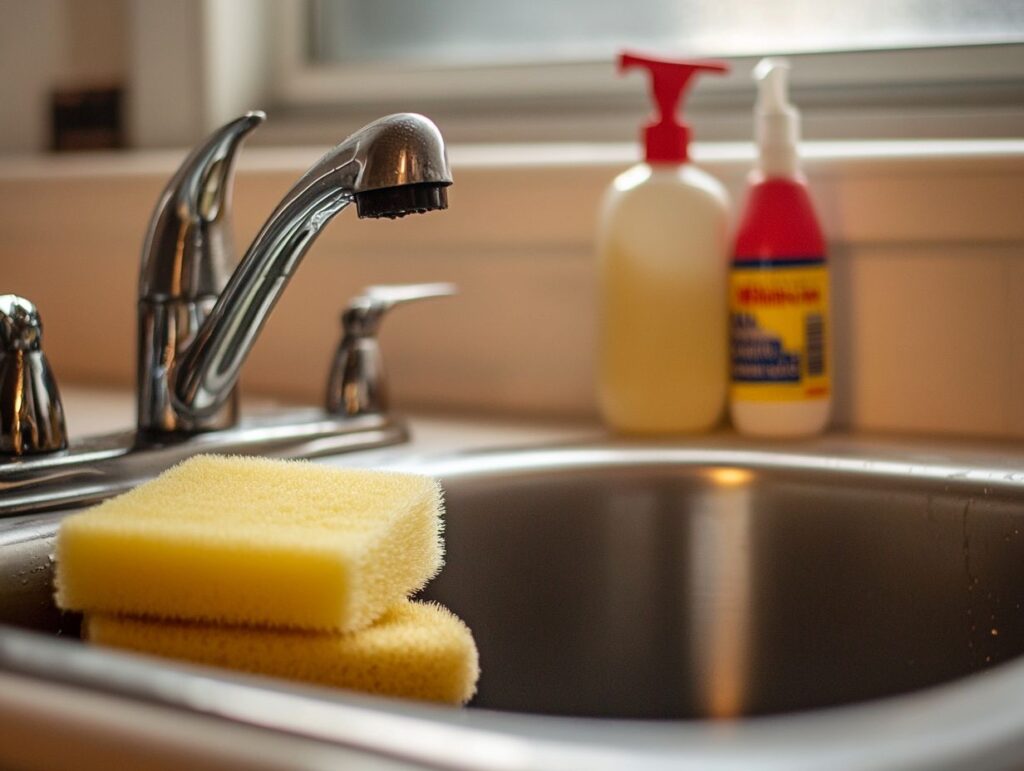
Methods for Removing Smoke Odour
When you’re tackling that pesky smoke odour, there are plenty of effective methods for deodorizing your space and making your belongings feel fresh and inviting.
You can clean naturally with vinegar and baking soda or use more intense techniques, such as steam or an ozone generator.
Knowing about these options lets you customize your approach based on the strength of the smoke smell and the fabrics or surfaces you’re dealing with.
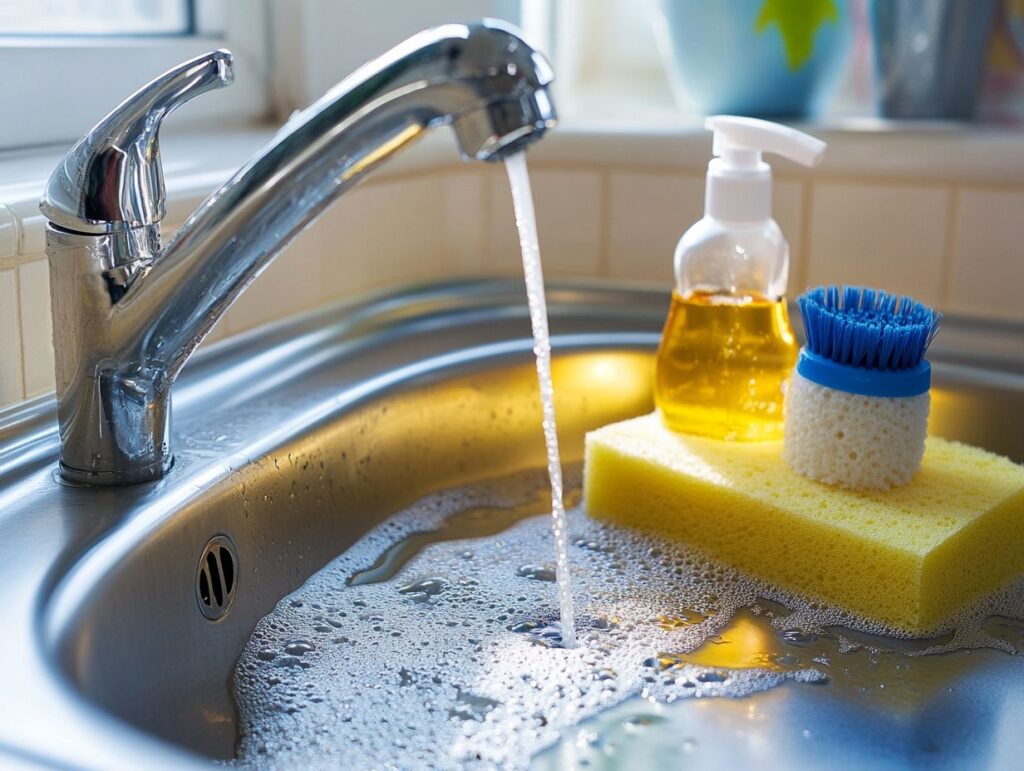
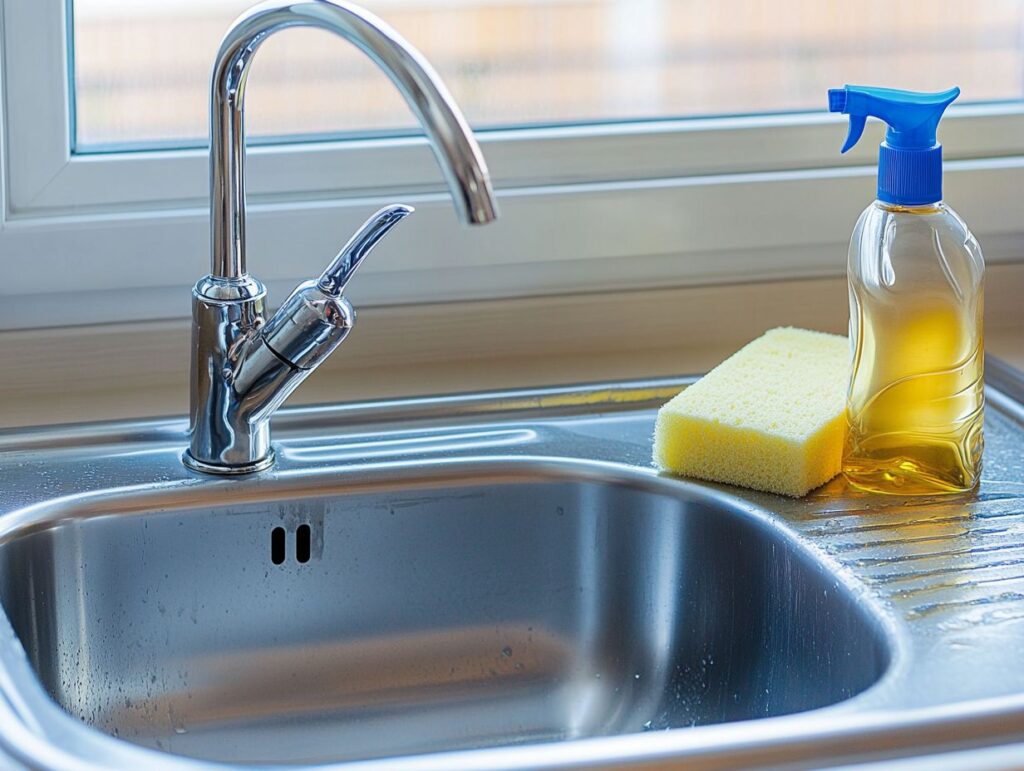
Home Remedies
Home remedies for removing that pesky smoke odour can be cost-effective and easy to implement. You probably have some familiar household items, like vinegar, baking soda, and essential oils, just waiting to help you neutralize those unpleasant scents.
Using these common ingredients, you can tackle stubborn odours in your fabrics and upholstery without using harsh chemicals. For example, vinegar is a natural deodorizer that doesn’t just mask odours but helps break them down at the source. Mix equal parts vinegar and water in a spray bottle, and you have a quick and easy solution to spritz on the affected areas.
Baking soda is another superstar known for its odour-absorbing powers. A simple sprinkle on your upholstery and letting it sit for a few hours can reduce unwanted smells. And if you want to take it up a notch, adding essential oils like lavender or tea tree to your cleaning solutions can enhance the deodorizing process. Not only do they smell great, but they also bring some antimicrobial benefits to the table.
Combine these methods, and you’ll see how effective natural remedies can create a fresh, clean atmosphere at home.
Professional Cleaning Services
If those home remedies aren’t working, consider calling the pros for smoke odour removal. They use specialized upholstery cleaners and advanced techniques to do the job.
These experts come armed with fancy tools that dive deep into the fibres of your furniture, achieving a level of cleanliness that DIY methods can’t match. They tailor their cleaning solutions to fit different types of upholstery, which means they can kick those stubborn odours to the curb and give your furniture a much-needed facelift.
It’s worth considering getting professional help after a big event like a fire or if your place has been hanging onto smoke for too long. This way, you can ensure your indoor environment stays safe and pleasant. Those expert techniques for odour removal go beyond just the surface; they tackle hidden contaminants, ensuring your living space feels fresher for everyone.
Preventing Smoke Odours
Preventing smoke odour from sneaking into your home starts with taking some proactive steps. Ensure you have good ventilation and let in as much sunlight as possible in your living spaces. This will help keep your fabrics and upholstery feeling fresh and odour-free.
Tips for Reducing Exposure to Smoke
To reduce that pesky smoke odour, consider implementing safety measures, like avoiding smoking indoors and following household tips that help keep your space cleaner.
You can also encourage your guests and family to join by setting up designated outdoor smoking areas. Regularly airing out your indoor spaces—open those windows and let some fresh air in—and using air purifiers can boost air quality.
Adding houseplants that naturally filter toxins is a win-win; they’ll make your space look great while helping reduce those lingering odours. When cleaning, reach for natural options like vinegar and baking soda—they work wonders for tackling smoke smells on all sorts of surfaces and fabrics.
These simple lifestyle changes can significantly lower the risk of smoke damage and create a fresher, healthier home environment.
Tips for Removing Smoke Odor from Specific Fabrics and Upholstery
To eliminate smoke odour from specific fabrics and upholstery, you need to take a tailored approach. Different materials react differently to various cleaning techniques and solutions, such as fabric fresheners and cleaning cloths.
So, it’s all about finding what works best for each type of fabric.
Clothing and Linens
Regarding your clothing and linens, using the right laundry detergent and following the correct washing instructions is key for deodorizing and protecting your fabrics from smoke odour.
Besides picking a high-quality detergent, sort your items by fabric type and colour. This will help you clean effectively without risking damage to delicate materials. If you’ve got items affected by smoke, try pre-soaking them in water and white vinegar to neutralize odours before tossing them in the regular wash cycle.
For some extra oomph, consider using a colour-safe bleach or an odour eliminator made for laundry; these can help lift stubborn smells out of the fibres. You can also use natural deodorising agents like activated charcoal sachets while washing or storing linens. They work wonders at absorbing those lingering smoke odours, making these strategies essential for your fabric care routine.
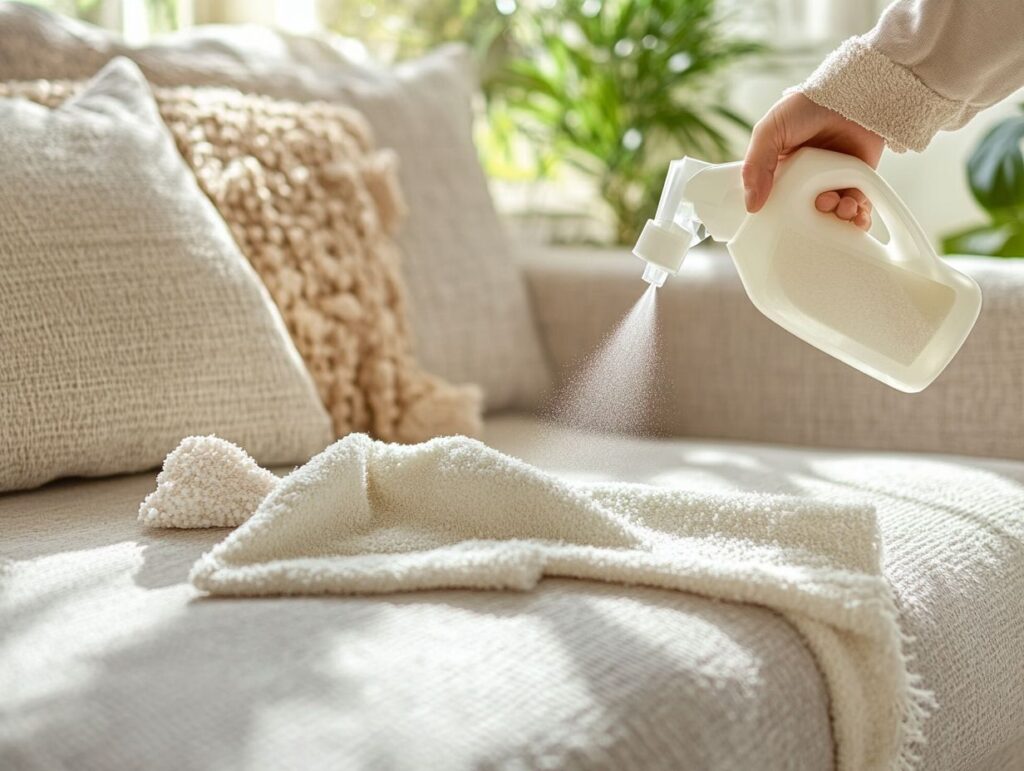
Furniture and Carpets
Regarding furniture and carpets, using upholstery treatments and effective surface cleaning methods can help you control and eliminate that pesky smoke odour that settles into the fibres.
Mixing professional cleaning techniques with DIY solutions enables you to tackle those stubborn odours more effectively. For example, professional steam cleaning services dive deep into the fabric, pulling out trapped particles and odours while refreshing the fibres.
On the flip side, simple home remedies like baking soda or white vinegar can be your best friends as natural deodorizers. Sprinkle baking soda on your carpets and let it sit for a few hours before vacuuming—it works wonders in neutralizing unwanted smells.
For your upholstered furniture, try whipping up a mixture of water and essential oils to add a delightful scent that keeps your space inviting and pleasant. Exploring these methods can create a healthier, fresher living environment.
Dealing with Lingering Smoke Odour
Dealing with that lingering smoke odour can be a hassle, especially when those stubborn smells stick around no matter how much you clean.
To tackle the problem, you should employ a combination of strategies, such as air fresheners and odour absorbers.
Additional Steps for Stubborn Smells
For stubborn smells that just won’t quit, you might want to try advanced methods, like using an ozone generator or deep-cleaning with an extraction method, to eliminate that smoke odour.
These techniques penetrate fabrics and surfaces, targeting the particles that cause lingering smells, giving you a solid approach to odour removal. Ozone generators, for instance, release ozone molecules that chemically change the structure of odour-causing agents, effectively neutralizing them. On the other hand, extraction methods use powerful vacuums and specialized cleaning solutions to lift trapped smoke residues from carpets, upholstery, and other porous materials.
When you use these strategies together as part of a thorough cleaning routine, you’re not just removing odours—you’re enhancing the overall freshness of your living space, making it feel revitalized and free from that pesky smoke scent.